Record an H&F day

What it's about
You climbed a mountain and flew down. Now you want to show this day completely with hiking and flying parts in your flight log and of course also update the H&F statistics (altitude meters).
Requirements
- Your flight was recorded with an instrument or an app
- (optional) Your hike was recorded with an app (e.g. Komoot)
- Your last download in the browser you used (regardless of the purpose) went to the standard Windows download directory (otherwise you have to set this again in the browser downloads)
How it works
In the simplest case, you already have both - IGC and hiking GPX - somewhere on the Internet (e.g. the flight on XContest and the GPX on Komoot, where you can also automatically mirror it from a Garmin watch). Then you just need to activate auto-download:

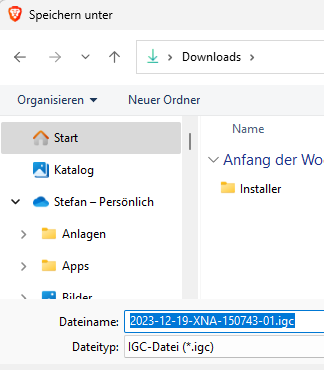
Now you first download your flight from the online portal, where your instrument or app has ideally already uploaded it automatically (using Seeyou.cloud as an example). Pay attention to the download directory (top left in the second picture)!


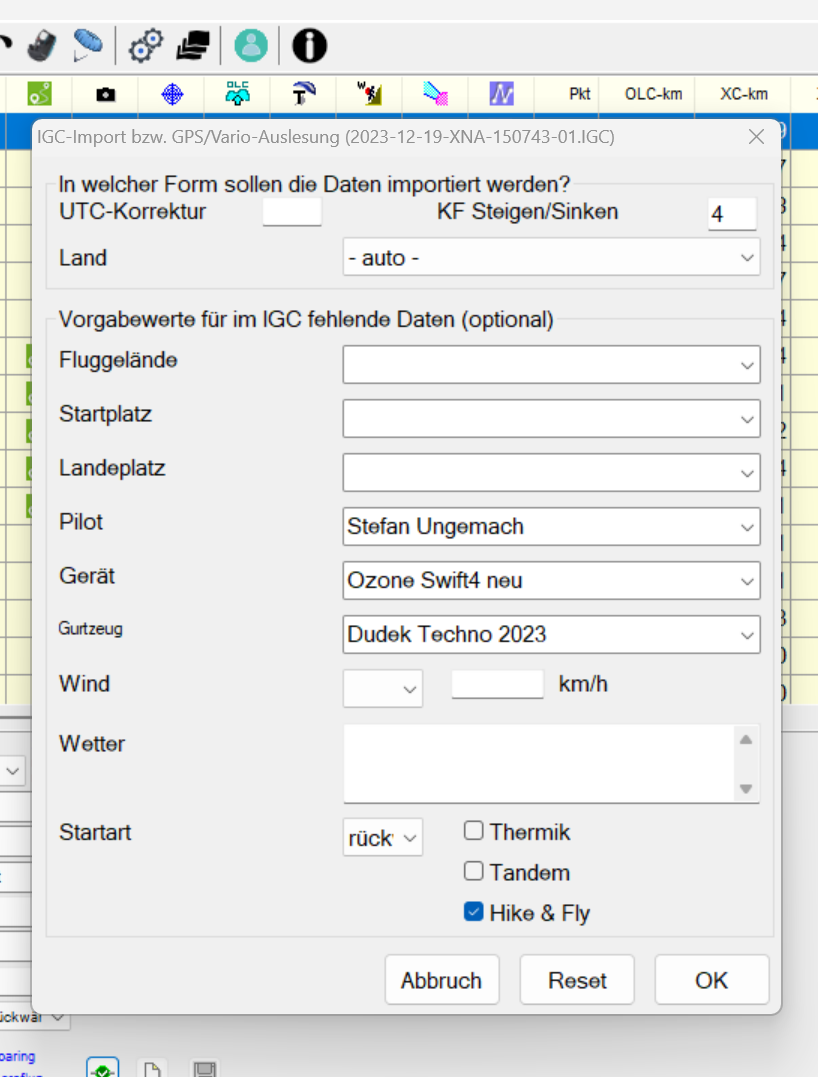
The flight is recognized and offered in the program. Check your umbrella data and set the H&F checkbox.

Your flight is already there and optimized. Don't move away from it (in fact, it's best not to click around in the program at all) and switch to your hiking tracking program in the browser (e.g. Komoot):

You can also download the hike here. The download directory is still set in the browser (if not, for example because you read the flight directly from an instrument, you still have to make sure as shown above).

The GPX is already in flight, as you can see from the green icon in the corresponding column. The H&F icon is also set, which was already done when the flight itself was imported.
At the bottom left and in the appropriate column of your flight log you can see the altitude difference. These were initially determined from the height difference between takeoff and landing and can be adjusted manually anyway. When you add GPX tracks, they are updated every time from them; you can also do this via the context menu for the flight.
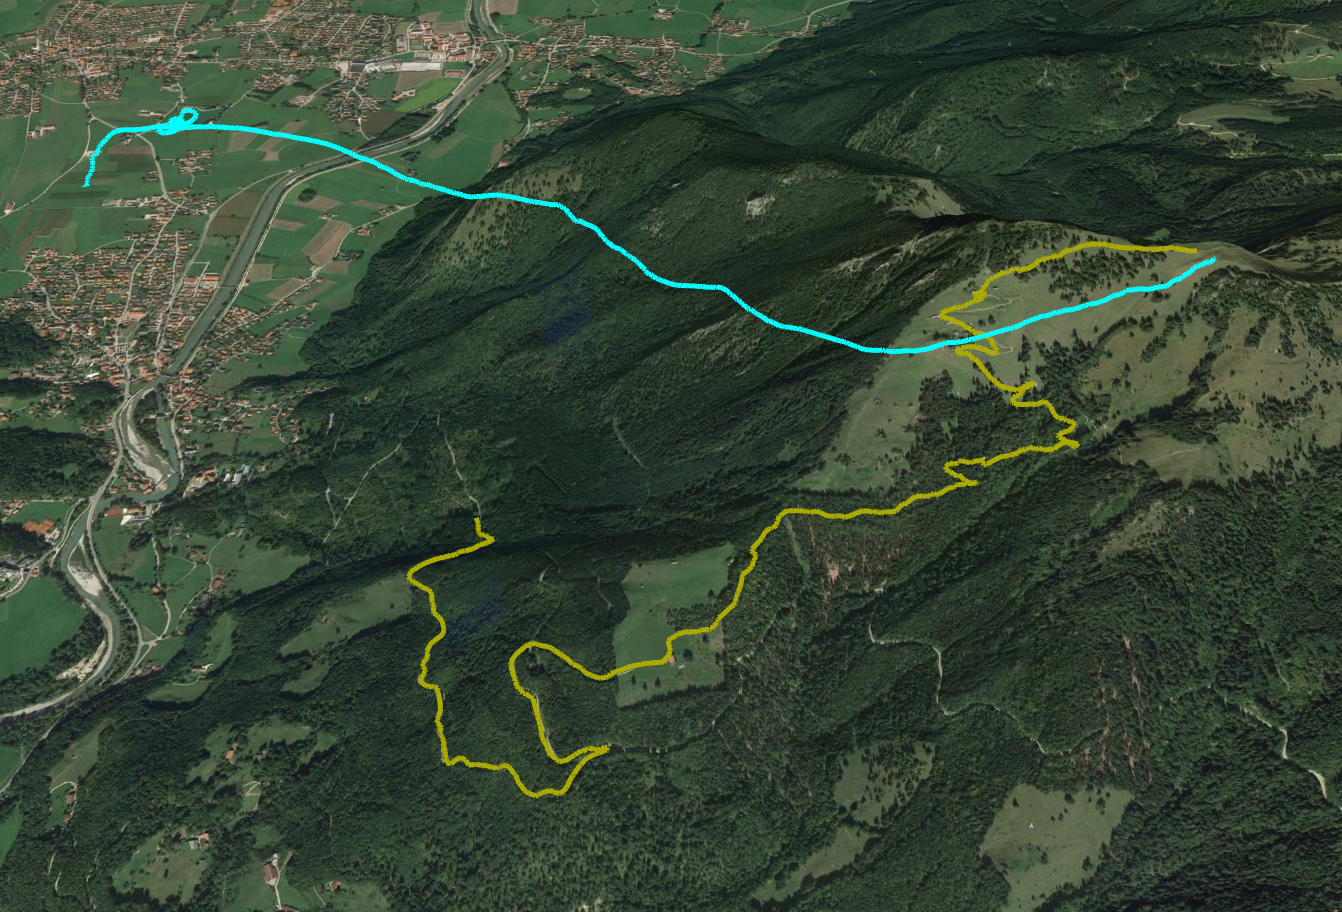
Now you want to see the entire flight day in 3D? No problem: you should have already automatically received a KML for Google Earth. If you have set this up differently, you can also do this via the flight's context menu under "Edit/Recreate KML" - then at the latest you will see a Google Earth icon during the flight, which you can double-click on.

You can also mark multiple flights - perhaps you took off, landed and walked in between several times on the same day.
What you have to pay attention to
- The height determination of smart watches can show considerable deviations. In the example, the track was recorded with a Garmin watch that had not been recalibrated and from there automatically mirrored to Komoot. The absolute heights of the hiking track are therefore around 200m too low. But this is irrelevant for determining the altitude gained, because the differences are always correct.
- If the flights were read directly from an instrument instead of the Internet, only the GPX part from these instructions is added.
- If you did not get the GPX tracks on the Internet but on a data storage medium in another way, you can also drag and drop them onto the marked flight.
- By double-clicking on the green icon you can see the attached GPX tracks and also remove individual ones. They are saved in the respective flight log directory as <Flight ID>.<sequence number>.GPX
- Currently a maximum of 6 flights including hiking tracks can be displayed in Google Earth at once.
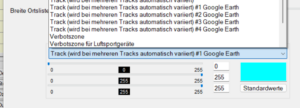
- The color of the flight tracks in Google Earth can be adjusted in the settings under "Display". The first flight gets the color "GE1", the second "GE2" etc. - after 4 it starts again from the beginning.


